TP Link N300 Extender Setup is used for extending the Wi-Fi signals. Most of us are using internet on all devices. Spot the extender in an area where the Wi-Fi Signal does not break down. The TP-link Wi-Fi Extender is important in a work environment. It essential a Web interface which is mainly used to set up the router and extend the Wi-Fi coverage. It has great features a smart signal indicator feature that alerts you of the signal strength; while the Tether app lets you manage and access various features on your mobile phone simply.
- Range Extender mode boosts wireless signal to previously unreachable or hard-to-wire areas flawlessly.
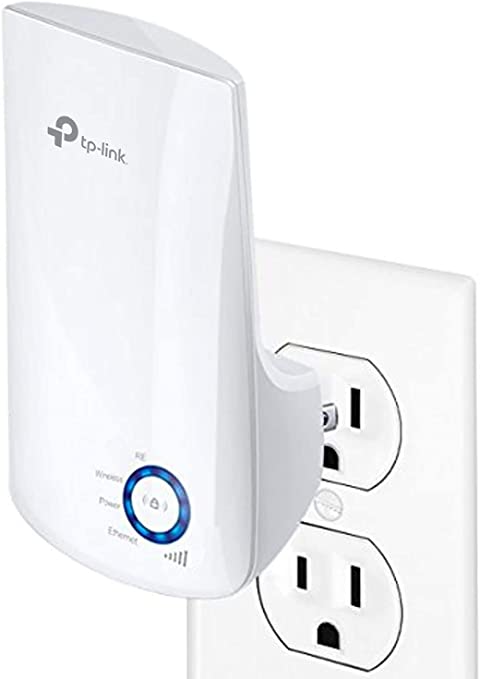
- It has Miniature in size and wall-mounted design makes it simple to deploy and move flexibly.
- It Simply extend wireless coverage at a push of Range Extender button
- Also, Ethernet port agreed the Extender to function as a wireless adapter to connect wired devices, Compatible with other 802.11n/g/b products.
- Moreover, The Tether App allows simply access and management using any mobile device, LED Control function includes a Night Mode for peaceful sleep. So, these are the points of TP link N300 extender setup.
TP-link N300 Extender setup using the WPS
- Firstly, plug your Range Extender into an electrical outlet closer to your main Router/AP.
2. Then push the WPS button on your main Router/AP first, then instantly push the WPS button on your Range Extender.
Note1: Whenyou have pushed WPS button of your Router/AP, within 2 minutes you have to push WPS button of your Range Extender. So we strongly suggest you have to push WPS button of your RE product as soon as you have pushed WPS button of your router.
Note2: After pushing the WPS button of your Router/AP, your Router/AP’s WPS LED should blink. If your Router/AP’ WPS LED doesn’t blink, it implies you have to push the WPS button again until the WPS LED of your Router/AP blinks. The same technique is also suitable for RE product. After pushing the WPS button of your Range Extender, the WPS/RE light of your Range Extender should blink. On the off chance not, then push again.
3. You have to holdup for 2 minutes and then check the wireless signal LED of your Range Extender. If it’s on, then your Range Extender has been successfully connected to your main Router/AP.
4. After 2 minutes, if the wireless signal LED of your Range Extender is still off, it implies the WPS process fails. You have to attempt once more WPS operation, and repeat the steps again.
5. In the end, you can put your Range Extender in a proper spot where you need to extend the wireless network’s coverage, and enjoy the extended wireless network. Once it’s done, there not necessary to repeat the process it will connect automatically every time you plug it back in.